Most people set up a gaming chair the way they set up a printer: unbox it, sit down, adjust nothing for six months. Then hour six arrives, the lower back starts screaming, and the chair takes the blame.
I coach esports full time in Los Angeles. Ten years of 10-hour practice days means I have gone through more chairs than I have trophies. The one that collapsed mid-match. The one that sent me to a physical therapist at 24 with a herniated disc scare. The racing-style ones that look like they belong in a car and feel like a park bench.
Gaming chair setup for long sessions is not complicated. It is a specific order of adjustments, a couple of fit checks, and one rule about where your feet live. Get those right and a mid-priced chair will hold your back through an eight-hour scrim day. Get them wrong and a four-figure chair will not save you.
Why you should trust me
I have been coaching full time since I stopped competing, and my players sit through scrim blocks that run eight hours with short breaks. Every chair that comes into my room gets the same treatment: it gets assembled, sat in for a full day, and judged on whether my back is still fine at the end of it. I see a physical therapist because I did not do any of this early enough, and she is the reason I care more about lumbar adjustability than about how a chair looks in a stream thumbnail. My players hate me for it. Their spines do not.
How I test a chair before it goes in the scrim room
Four questions, in order.
Is the lumbar support adjustable? A fixed bump that happens to land in the wrong spot is decoration. A pad you can move up, down, and usually in and out is support. This is the first thing I check and the fastest way for a chair to get sent back.
Can I lock the tilt? Rocking is fine. Rocking all day because you cannot lock the angle is not. I want a chair that holds a slight recline so my hips are open and my lower back is not carrying the full load.
Do the armrests move in more than two directions? Up and down is a start. In, out, forward, back, and angled is what actually lets your shoulders relax.
Does it fit my height and weight? A chair built for a heavy rider with a tall back is a different chair than a compact one, and the wrong fit shows up as pressure behind the knees or a headrest that pushes your chin forward.
Then I sit in it for a full scrim day. Not an hour. A day. Chairs that feel great for 60 minutes start telling the truth around hour four.
The two chairs I would put in a scrim room
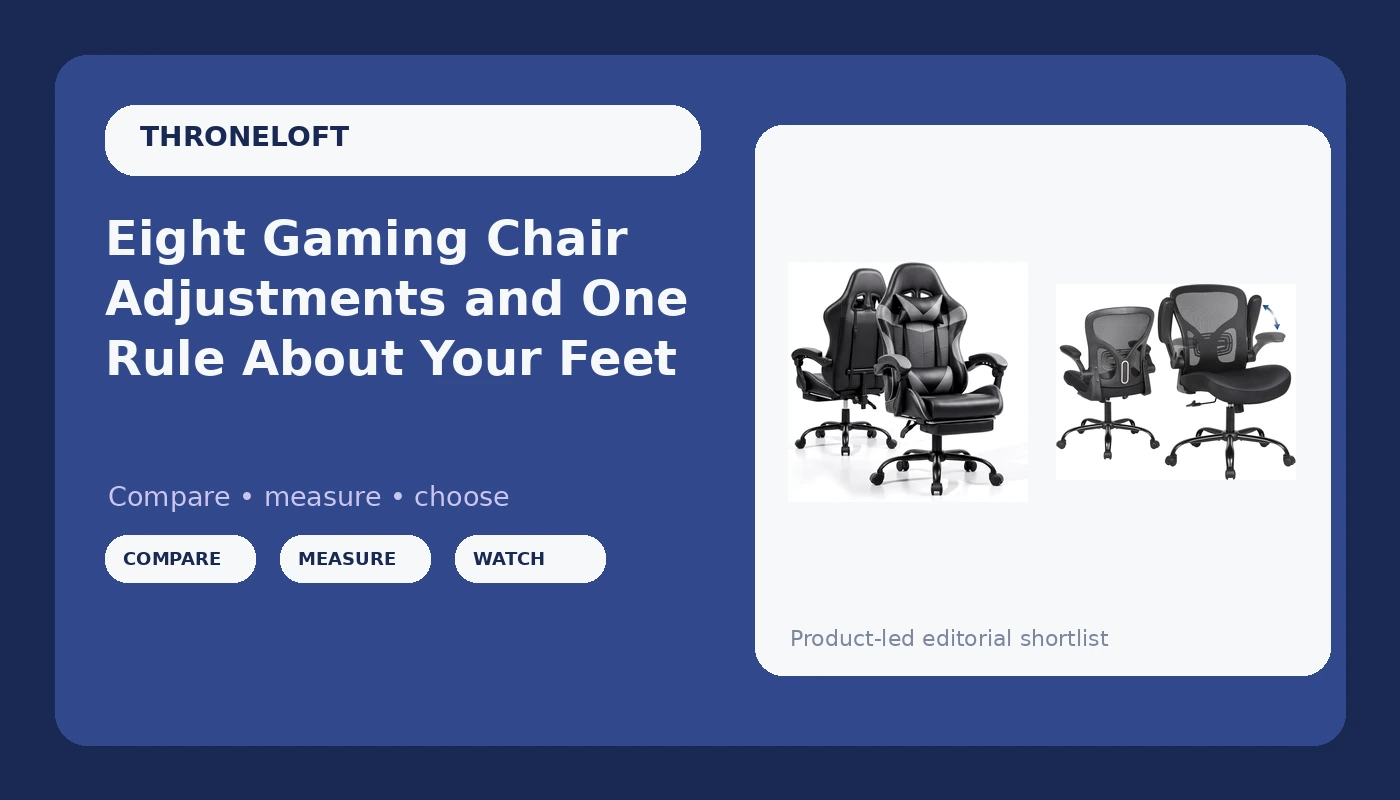
Two chairs, two jobs. One is the budget seat for a player building a first setup, and one is the chair I would hand to someone who plays six hours a night and wants their back to still work in five years.
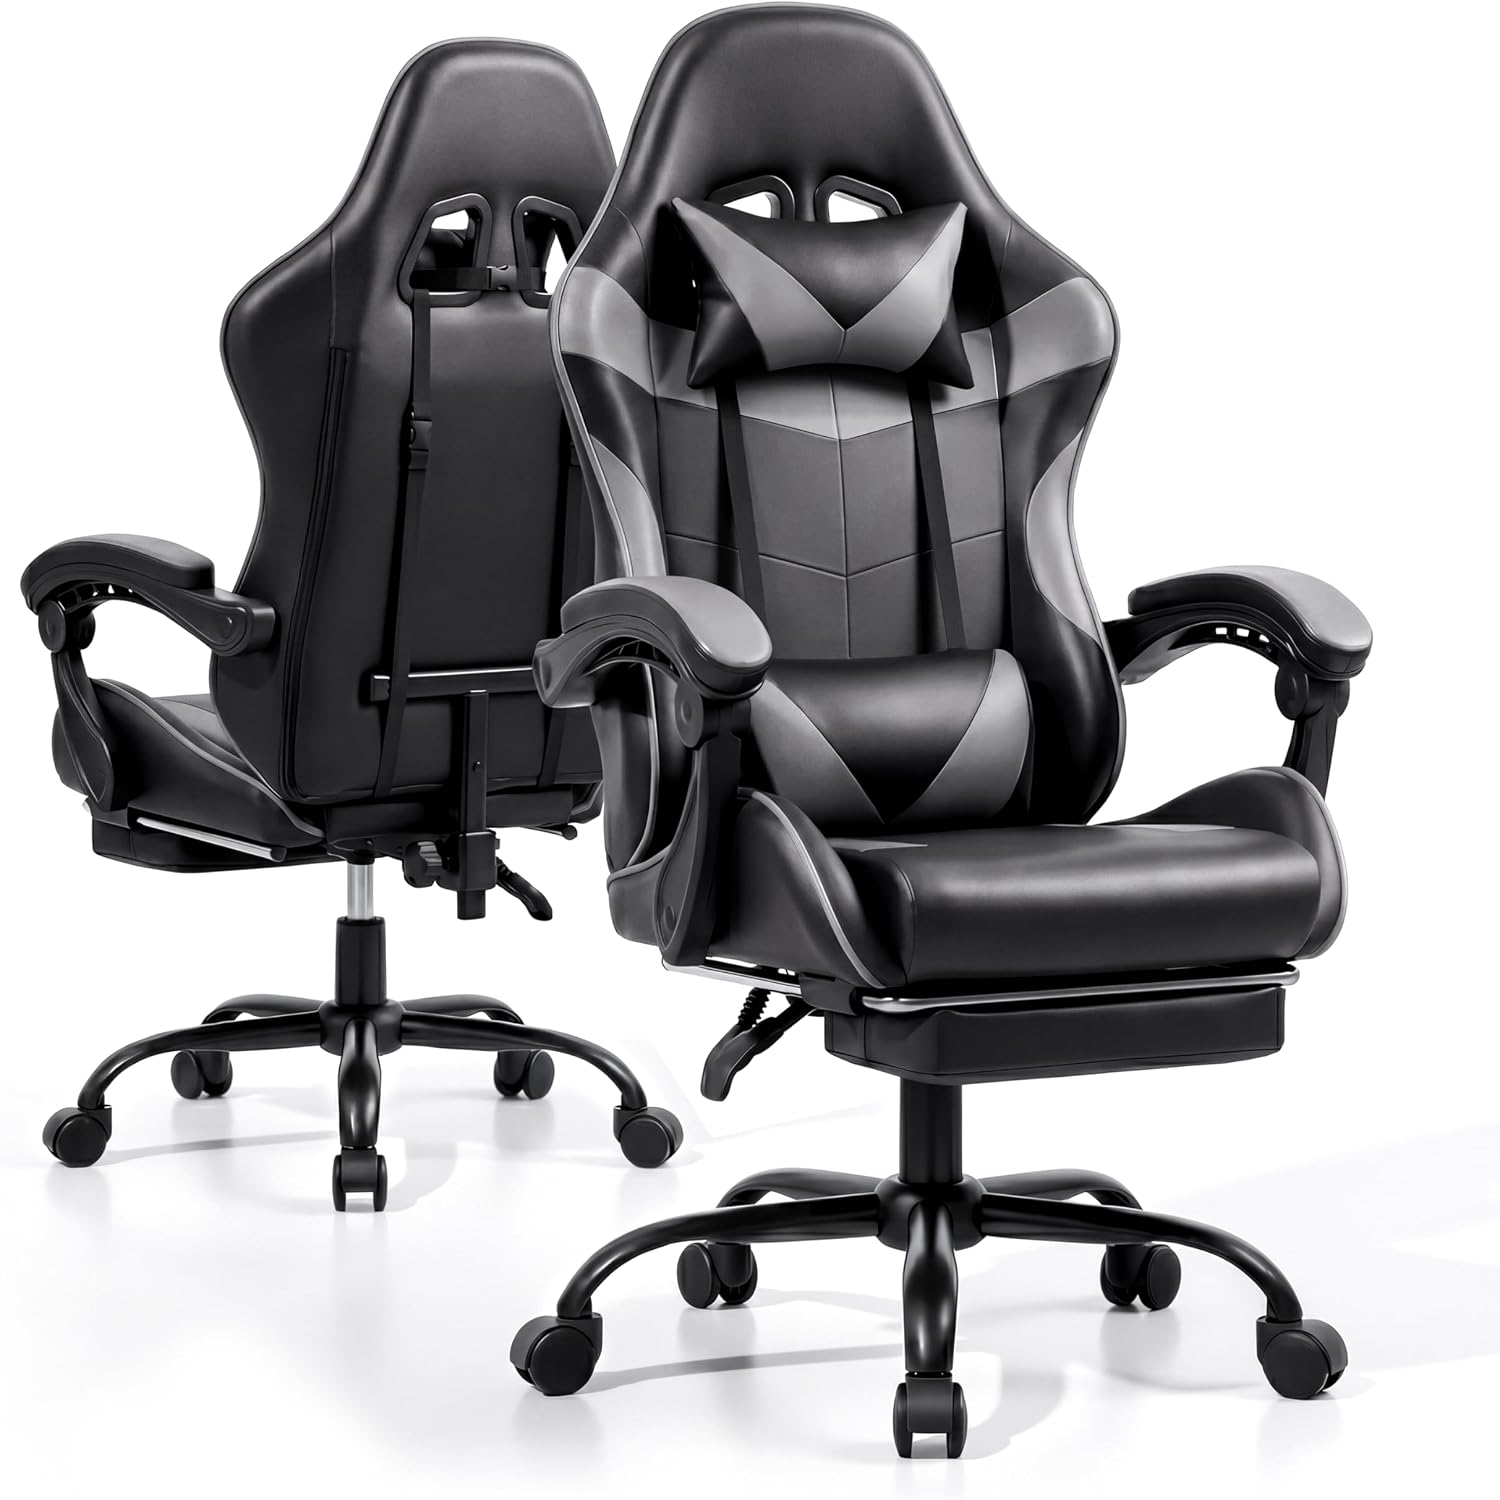
The budget pick: Gaming Chair with Footrest and Lumbar Support, Height Adjustable Chair with 360°Office Desk Chair,Heavy Duty 330lbs Computer Chair for Adults
 Visit on Amazon →
This is the entry point, and it covers the basics a first chair needs: height adjustment, a 360 degree swivel base, a footrest, and a heavy duty frame rated for 330 pounds. Check current Amazon price.
The footrest is the feature people either love or never touch. Here is my rule: a footrest is a break feature, not a play feature. Recline, put your feet up, let your lower back unload for ten minutes between matches. Do not play eight hours with your legs extended, because that pulls your hips forward and rounds your lower back, which is the exact posture you are trying to avoid.
Flaws but not dealbreakers: This is a gaming-style chair, and gaming-style chairs tend to put the support where it looks good rather than where your spine wants it. Before you buy, look at the listing photos closely and confirm the lumbar piece is something you can reposition. If it is welded in place, treat it as a chair with a bump, not a chair with support.
Worth it for: players on a first setup, younger players still growing into a full-size chair, and anyone who wants the recliner-and-footrest experience at the lowest cost of entry.
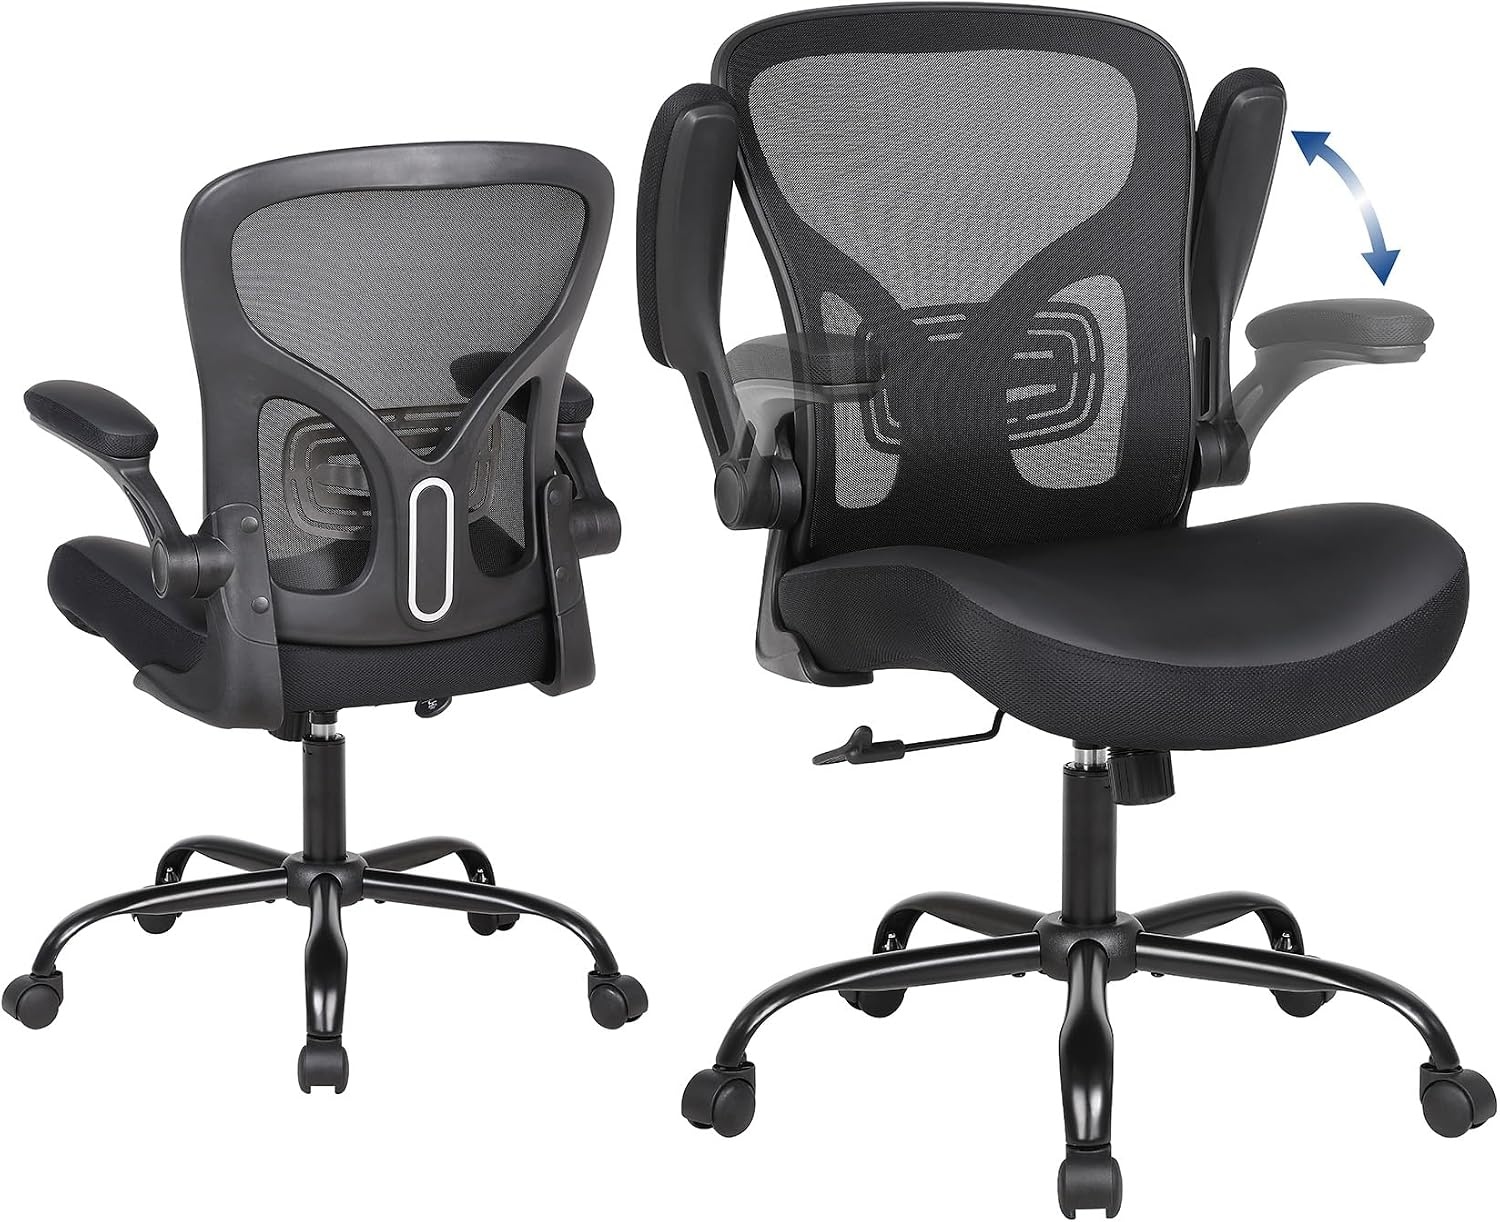
The pick for marathon days: Ergonomic Office Chair, Flip-up Armrest, Mesh Back PU Leather Seat
 Visit on Amazon →
If you play more than two hours a night, this is the shape of chair I push people toward. The back is mesh, which is the single biggest comfort upgrade you can buy for long sessions. Mesh breathes. Foam and leather do not. In July, in a room with a closed door and a warm PC, that difference is the whole ballgame. Check current Amazon price.
The seat is PU leather over foam, which is a compromise: the back stays cool while the seat pan still runs warmer than a full mesh chair would. The flip-up armrests are the other feature worth calling out. Flip them up and the chair tucks fully under the desk, which matters in a small room or if you switch between sitting and standing. Flip them down and you get forearm support for mouse work.
Flaws but not dealbreakers: Flip-up armrests are not the same as 4D armrests. If your shoulders need the arms angled inward or pushed forward, check the listing carefully to see how much adjustment you actually get. And if you want a footrest and a deep recline for movies, this chair is built for desk work, not lounging.
Worth it for: anyone logging long sessions who wants their back cool and their posture upright. This is the chair I would hand a player who complains about sweating through a leather chair by hour three.
The actual setup workflow
Now the part that matters more than which chair you bought.
Step one: set the chair height last, not first. Set your desk height first if you can, or accept the desk you have and work around it. Your elbows should rest at roughly desk height with your shoulders down and relaxed. Then set the chair so your feet are flat on the floor and your knees are level with or slightly below your hips. If your feet dangle, get a footrest or a box under them. Dangling feet pull your lower back forward.
Step two: check seat depth. Sit all the way back against the backrest. You want a couple of fingers of space between the back of your knee and the front edge of the seat. If the edge presses into the back of your knees, the seat is too long for you, and no amount of lumbar adjusting will fix it.
Step three: place the lumbar support. Slide it up or down until it sits in the small of your back, the inward curve just above your belt line. Not your mid back, not your shoulder blades. If your chair's lumbar piece is fixed, adjust seat depth and recline instead to get your back onto it.
Step four: dial in the armrests. Elbows at about 90 degrees, forearms supported, shoulders not shrugged. If your armrests only go up and down, set them just below elbow height and accept it. If they move in more directions, pull them in until your shoulders drop.
Step five: set tilt tension, then lock the angle. Lean back and find the point where your lower back feels supported and your hips are open, which is usually a slight recline rather than bolt upright. Lock it there. Bolt upright feels disciplined and is actually harder on your discs over a long day.
Step six: footrest rules. Use it when you recline between matches. Skip it during play. Legs extended means your pelvis rolls back and your lumbar curve flattens.
Step seven: fix the desk side. Monitor at about arm's length, top of the screen near eye level. Keyboard close enough that your elbows stay at your sides. A perfectly set chair in front of a monitor that is too low will still wreck your neck.
Step eight: the 45-minute rule. Every 45 minutes, stand up. Walk to the kitchen. Do ten shoulder rolls. The best chair in the world is still a chair, and the research on sitting is not kind to any of them.
What to check after the first week
Re-tighten the bolts. Assembly instructions usually say it and nobody does it, and a chair that develops a wobble at month six usually started as a loose bolt in week one.
Then check four things: does the gas cylinder hold your height, do the casters roll without catching, does the armrest rattle when you lean on it, and does your lower back feel worse at hour two than it did at hour one. That last one is the real test. If your back hurts early and keeps hurting, the chair is the wrong fit, not the wrong brand. Return it while you still can.
If you are between sizes, go with the chair that lets you adjust more, not the one that looks bigger. Adjustability beats size every time.
The chairs people ask me about
I get the same five names in my inbox every week.
The Secretlab Titan Evo is the chair I recommend most often to people who want one purchase and no regrets. Adjustable lumbar, quality build, and it holds up. I make fun of racing chairs and then admit the Titan Evo looks great, which my players never let me forget.
The Herman Miller x Logitech Embody is the marathon-session chair. It is not a gaming chair in the flashy sense. It is a real chair that happens to be excellent for long sessions, and the price is brutal.
The HON Ignition 2.0 is the boring answer I give when someone wants mesh and does not want to think about it. It is the chair I sit in when I coach, and it is not exciting in any way, which is the point.
The Razer Iskur is the tall-player pick, with an aggressive lumbar curve that works. The seat is firm, so try before you commit.
The Noblechairs Hero is the compromise for people who want the gaming chair look and still want real support.
What I tell everyone to skip is any chair built like a bucket seat. A bucket seat is designed to hold a driver in place through a corner. You are not cornering. You are sitting still for hours, and a seat that wraps your hips forward is a seat that fights your posture.
What this setup actually costs you
The two chairs in this guide sit in two different price tiers, so check current Amazon price on both before you decide. The gap between them is smaller than the gap between either one and the chair I would actually want for a 10-hour day, which says more about the ceiling of the category than about these two.
The real cost is not the chair. It is the setup time, which is about 20 minutes if you run the eight steps once and write down where everything landed. And it is the physical therapy appointment you avoid by not spending eight hours a day with your feet dangling and your lumbar curve flattened.
Set the chair up properly the day it arrives. Save the settings. Re-check them every few months, because gas cylinders settle and bolts loosen.
That is the whole job. Your chair is a tool. Set it like one.