Most people treat a gaming chair setup as a shopping problem. Buy the chair, unbox it, sit down, done. That order is backwards, and I have watched it cost people a season.
I coached a player in 2024 who spent his whole per diem on a bucket-seat chair because it looked like the seat in a GT car. Six months later he was in physical therapy three times a week with a lower back that had locked up. The chair was not evil. The setup was. He had the seat too deep, the lumbar cushion parked halfway up his back, and the recline locked at 90 degrees, which is the angle that loads a disc the hardest.
A real gaming chair setup is a sequence. Pick a chair that has the adjustments that matter, then set height, depth, lumbar, recline, armrests, and headrest in that order. It takes about 20 minutes. It is the difference between finishing an eight-hour scrim day and tapping out at hour four.
Why you should trust me
I am Jae. I am 29, I coach esports full time in Los Angeles, and I spent ten years as a competitive FPS player on ten-hour practice days. I have gone through more chairs than I have trophies: the one that collapsed mid-match, the racing-style one that looked fast and felt like a park bench, and the one that put me in front of a physical therapist at 24 with a herniated disc scare.
That physical therapist taught me what support actually means, and it is not a bump in the backrest. Now I run the same posture checks on every chair my players sit in, because I have seen what a 20-year-old's back looks like after a year of ignoring this stuff. A gaming chair is a chair first and a gaming product second. If it does not hold your lower back at hour six, it is furniture with a logo.
What I check before a chair earns a spot
I do not care how a chair looks. Here is the short list I run, and it is the same list I would hand to anyone shopping:
- Adjustable lumbar. If the lumbar support is a fixed bump, it is decoration. It has to move up and down, and ideally in and out, so the curve lands on your lumbar spine instead of your mid back.
- A tilt mechanism with real tension control and a lock. You need to lean back and stop where your spine is neutral, not fight a spring that is either rock hard or a hammock.
- Armrests that adjust in at least three directions. Height alone is not enough. You need depth and angle so your elbows rest near 90 degrees without your shoulders shrugging up toward your ears.
- Seat depth you can actually sit in. Too long and the front edge digs into the back of your knees. Too short and your thighs hang off the end with nothing under them.
- Breathable material. Mesh or fabric beats leather for anyone who plays more than two hours. Leather looks premium in a photo and turns into a slip and slide in July.
- A base that does not wobble. If the chair rocks side to side in the first month, the cylinder or the base is already failing.
The two chairs I would put a player in
One budget pick, one upgrade pick. Both clear the bar on the list above in different ways, and both are chairs I would let a player sit in for a full scrim day.
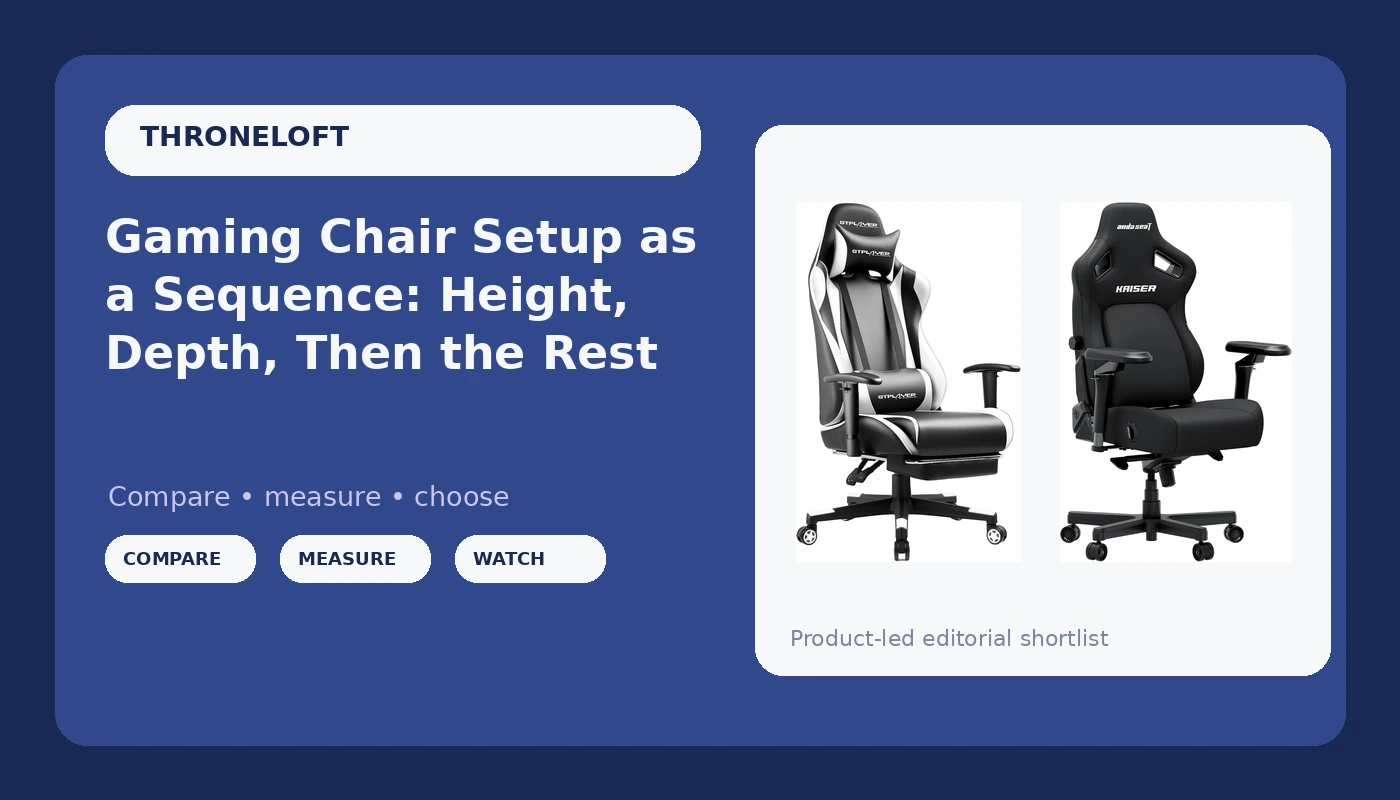
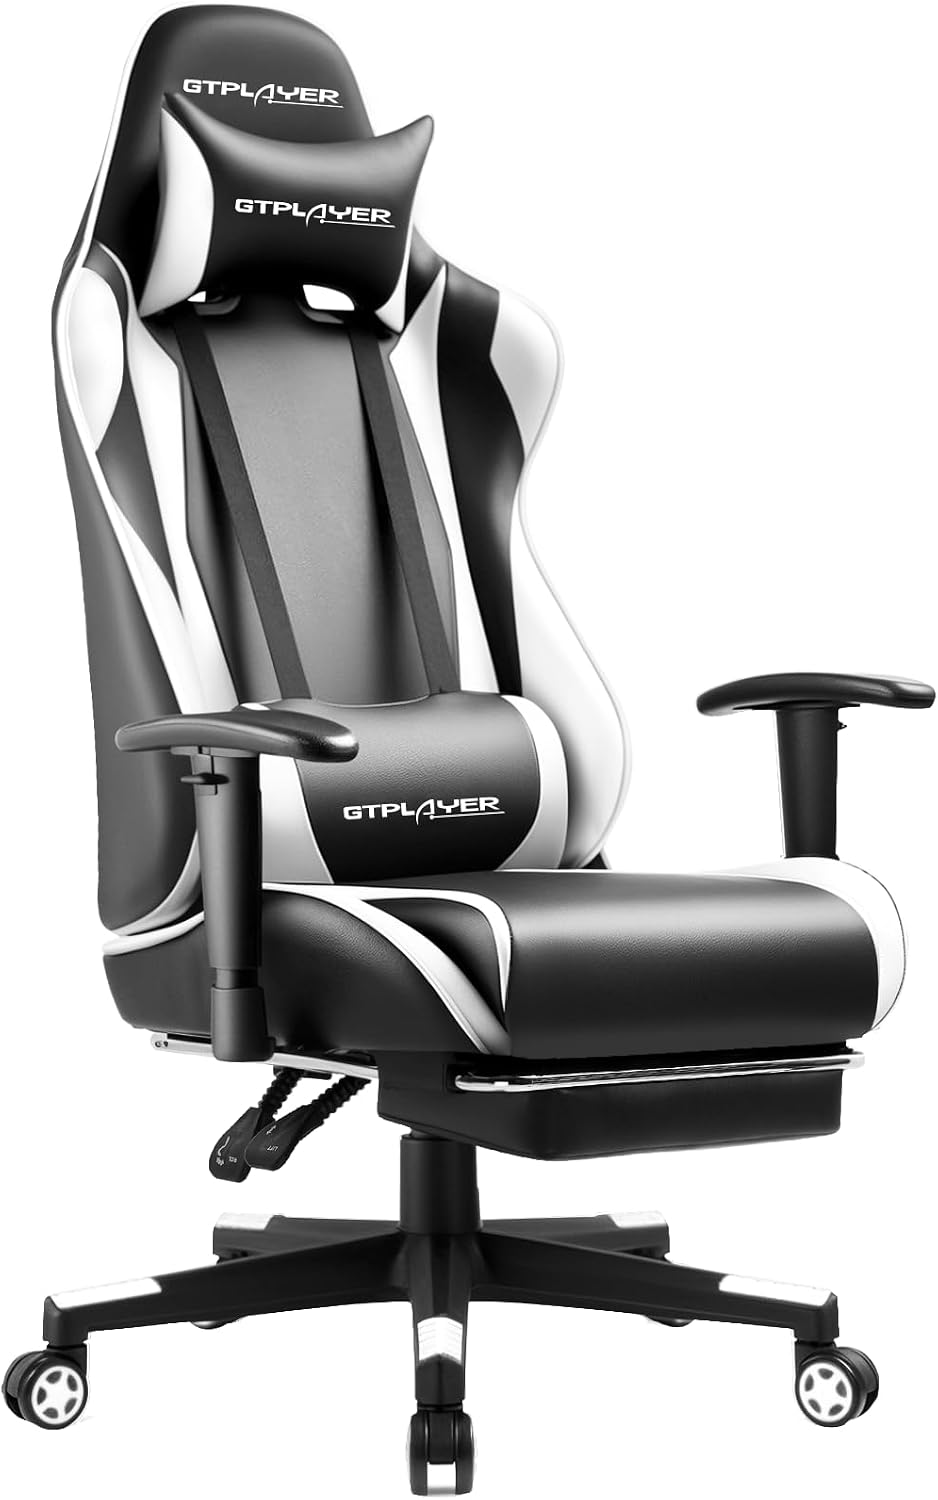
Budget pick: GTPLAYER Gaming Chair with Footrest, Ergonomic Computer Game Desk Chair, Reclining Gamer Chair Seat Height Adjustment, Swivel Rocker with Headrest and Lumbar (White)
 Visit on Amazon →
This is the chair I point a first-time setup at. It has the pieces that matter at the entry tier: seat height adjustment so you can get your knees and hips right, a recline so you are not stuck at 90 degrees, a headrest, and a lumbar cushion. The white finish is the one thing that will show every crumb from your desk snacks, so factor that in if you eat at the keyboard.
The honest caveat is the lumbar support. It is a cushion rather than a built-in adjustable curve, which means placement is entirely on you. That is not a dealbreaker, it just changes the workflow: you tune it by moving the cushion to the small of your back instead of turning a dial, and you re-check it every couple of weeks because cushions migrate. The footrest is a comfort feature, not a posture feature. It is great for reclined controller sessions where your hips would otherwise slide forward, and it should stay folded away when you are sitting upright for mouse and keyboard.
Flaws but not dealbreakers: The build is light, which is fine for a normal-size player and a bedroom or dorm setup, but it is not the chair you buy for a 250-pound player who leans hard. And the swivel rocker function is fun for the first week and then you stop noticing it, which is true of every rocker.
Anyone building a first real setup on a tight budget, or a second station for a console corner, will be happy here.
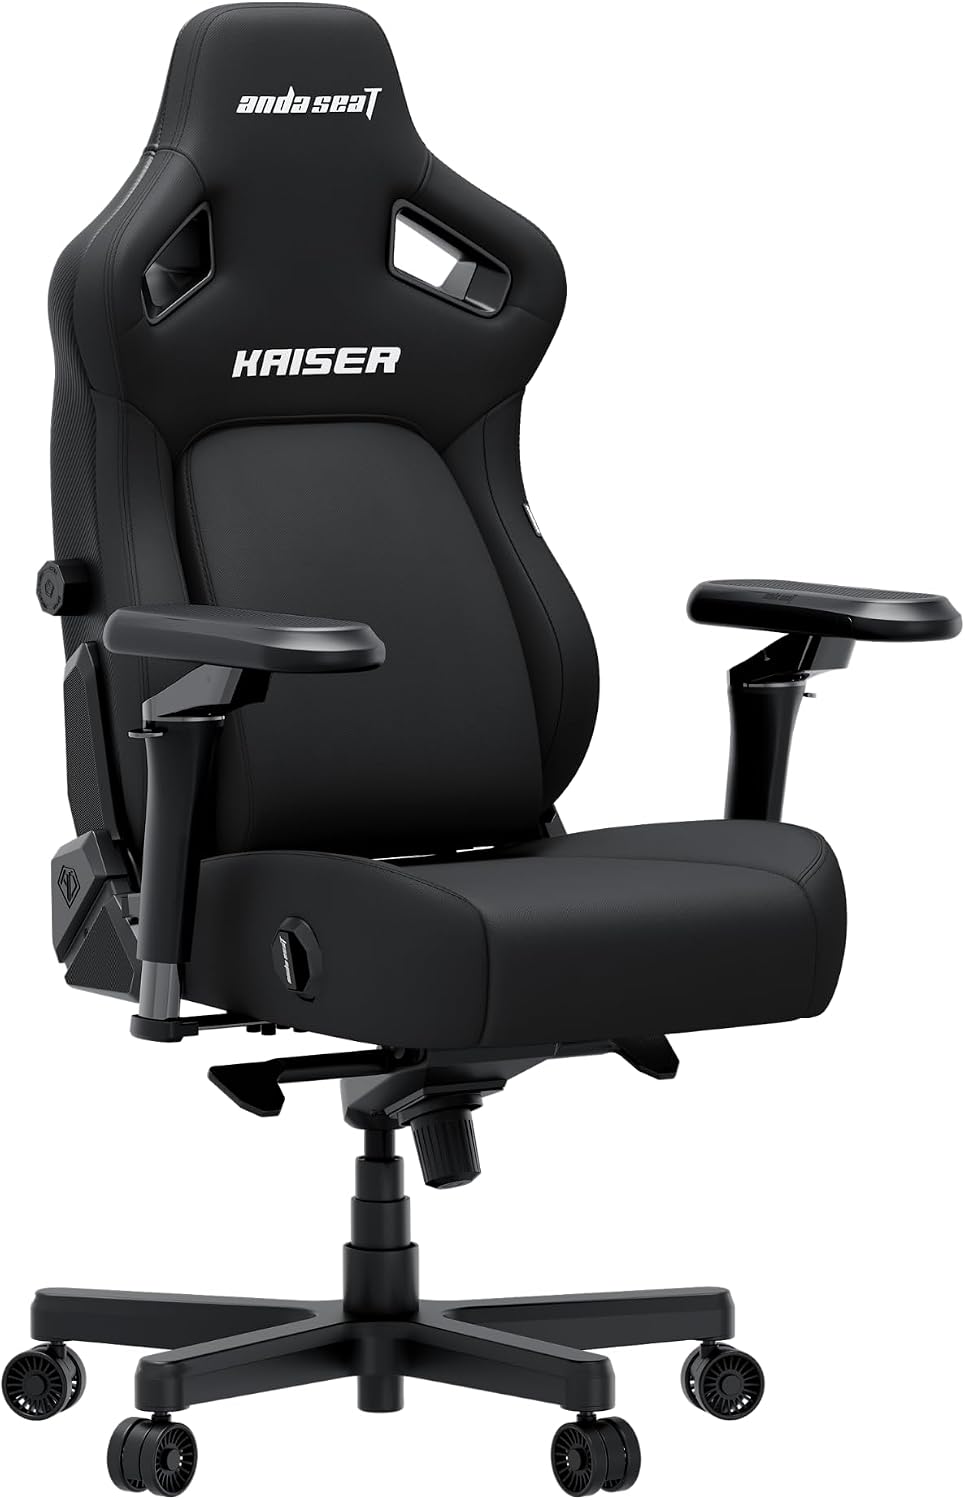
Upgrade pick: Anda Seat Kaiser 4 Large Gaming Chair for Adults - Ergonomic Black Fabric Gaming Seat with 6D Armrest, Comfortable Office Chair with Lumbar Support, Heavy Duty Wide Computer Seat
 Visit on Amazon →
This is the one I would buy with my own money, and the 6D armrests are most of the reason. Six directions of adjustment means you can match the armrest to your actual forearm instead of contorting your shoulders to meet a fixed pad. If your armrests only go up and down, you are not sitting in a serious chair, and this one is the answer to that complaint.
The fabric is the second reason. It breathes, which matters more than any spec sheet number once you are four hours into a session. The large, wide, heavy-duty frame is built for adults, which cuts both ways: if you are a smaller player, check the sizing carefully before you order, because a wide seat with a long depth will push you forward and undo the lumbar fit. For bigger players, this is one of the few chairs in the category actually designed for you.
Flaws but not dealbreakers: Fabric collects pet hair and dust, so keep a lint roller nearby if you have animals. It is also a heavier chair, so measure your floor space and make sure you have room to recline without clipping a desk or a wall.
Anyone who plays long sessions, runs a wide frame, or has already replaced one cheap chair should look here first.
The setup sequence, in order
Now the part you came for. Do these in sequence. Adjusting armrests before you set seat height is why so many setups feel wrong.
Step one: seat height. Set it so your feet are flat on the floor and your knees bend at roughly 90 degrees, with your hips level with your knees or slightly above. If your hips are below your knees, you are sitting in a bucket and your lower back is rounding. This is the single most common mistake I see, and it takes 15 seconds to fix.
Step two: seat depth. Sit all the way back against the backrest. You want two to three fingers of space between the back of your knee and the front edge of the seat. If the edge is pressing into your calf, the seat is too long for you and no amount of lumbar adjustment will save the fit.
Step three: lumbar. Slide the support down to the small of your back, the inward curve just above your belt line. If it sits in the middle of your back, it levers your shoulders forward and you will spend the whole session fighting it. If your chair uses a strap-on cushion, this is a two-handed job and you should redo it whenever the cushion drifts.
Step four: recline and tilt tension. Set the backrest between 100 and 110 degrees and lock it there. Locked at 90 is the position that puts the most pressure on your discs, and fully unlocked is a rocking chair. Then set the tension so you can push back with light pressure and the chair meets you, instead of you fighting it or falling backward.
Step five: armrests. Elbows at roughly 90 degrees, shoulders relaxed and down, armrests meeting your forearms just below the elbow. If your shoulders are creeping up, the armrests are too high. If you are reaching down, they are too low. If your chair only offers height adjustment, set them for typing and accept that they will never be perfect.
Step six: headrest. With the chair upright, the headrest should support the base of your skull so your head stays over your shoulders. If you are reclined for controller play, drop it so it cradles your neck instead.
Step seven: feet. Upright for mouse and keyboard, both feet flat on the floor. Reclined for console, use the footrest so your hips stay back in the seat instead of sliding forward. Do not cross your legs for an eight-hour day, whatever your rank says.
Step eight: the two-hour check. Stand up every two hours and walk for three minutes. No chair, at any price, is designed for eight uninterrupted hours. The setup buys you the hours. The breaks are what keep your back from spending them.
The mistakes I see in every scrim room
The racing silhouette is the biggest one. A bucket seat belongs in a car that corners. On a desk, the raised side bolsters push your shoulders forward and your pelvis into a rounded position, and the fixed lumbar bump rarely lands where your spine needs it. If your chair has shoulder wings, they are working against you.
The second is treating the lumbar pillow as decoration, or worse, leaving it in the box. The third is setting the chair once, on the day it arrived, and never touching it again. The fourth is armrests that only move up and down. The fifth is wobble: if the chair rocks in month two, tighten every bolt you can reach, and if it still rocks in month three, replace it. A wobbly chair makes you brace, and bracing all day is what turns into a knot between your shoulder blades.
How to tell the chair is the problem
Here is the checklist I give players. If you are shifting position every ten minutes, the seat depth or the recline angle is wrong. If your lower back aches within an hour, the lumbar is in the wrong place or missing. If your hands go numb, your armrests are too high and your elbows are pinched. If your tailbone hurts, the seat is too firm for your frame. If you feel it in your neck, your monitor height is off, not your chair.
Fix the free adjustments first. Only shop for a new chair after you have run the full sequence and it still hurts.
What this all costs
The two picks here sit in different tiers. The GTPLAYER is a first-chair price, and the Anda Seat Kaiser 4 is a buy-it-once price, several times higher. Check current Amazon price on both before you decide, because entry-tier chairs move around more than premium ones.
The math I actually use with players is not cost per chair, it is cost per year of a healthy back. A cheap chair replaced every 18 months costs more than one good chair over five years, and it costs you the recovery time in between. If you are on a budget, buy the budget pick, run the setup sequence, and take the breaks. If you have already thrown one chair away because it hurt, skip the middle tier and go straight to the upgrade.
FAQ
Do I need a footrest? No, but it helps when you recline. Use it for controller and console sessions to keep your hips back. Keep it stowed when you sit upright.
Is fabric better than leather for long sessions? For anything past two hours, yes. Fabric breathes and you stay planted instead of sliding on a slick surface.
How often should I re-check the setup? Every couple of weeks, and any time the chair gets moved. Cushions drift, cylinders settle, and bolts loosen. Twenty seconds of re-checking beats a month of low-grade ache.
The short version
Set height so your hips are level with your knees. Set depth so two fingers fit behind your knee. Put the lumbar in the small of your back, lock the recline at 100 to 110 degrees, put your elbows at 90, and stand up every two hours. Pick a chair with adjustable lumbar, a tilt lock, and armrests that move in more than one direction, and your setup will hold up for the whole scrim day.
That is the job. Your back is the hardware that has to last. Set the chair up like it matters, because at 24, I found out the hard way that it does.