Most people unbox a chair, bolt the base to the seat, drop it in front of the desk, and sit. That is furniture assembly, not a gaming chair setup. I have watched a hundred players do exactly that: they spend hours tuning sensitivity and mouse grip and exactly zero minutes tuning the thing their spine is sitting on.
Gaming chair setup comes down to four adjustments in a specific order, plus one habit. Get the height right, then seat depth, then lumbar, then tilt and armrests, and re-check everything at hour six when your body has stopped pretending. Do that, and the chair under you matters far less than the marketing wants you to believe.
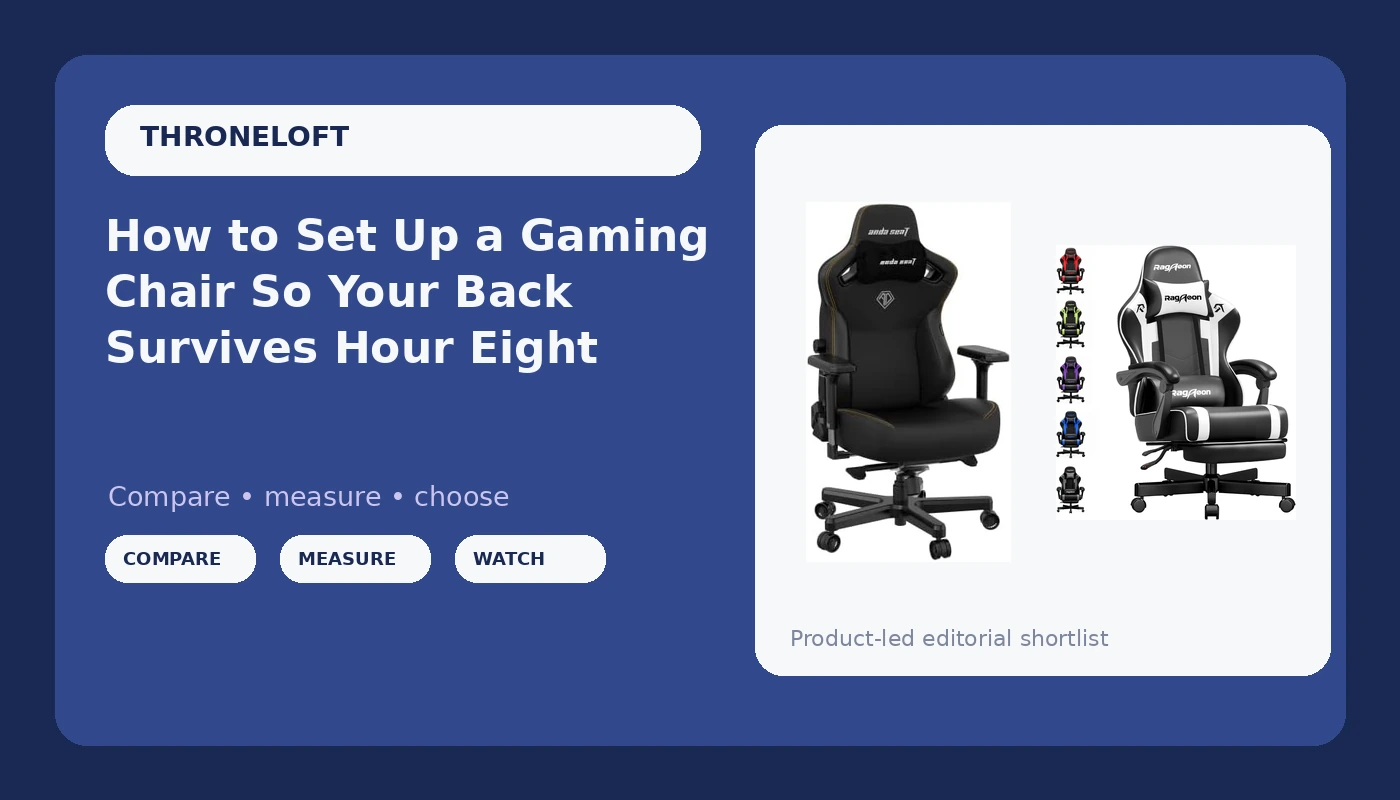
Here is how I set up a chair, and the two options I would look at first if you are starting from nothing.
Why you should trust me
I coach full time in Los Angeles. Before that I spent ten years playing FPS competitively, which meant ten-hour practice days in whatever chair a sponsor sent over. I have had a chair collapse mid-match. I had a disc scare at 24 that a physical therapist fixed with posture work, not with new peripherals. Since then I have made my players sit properly, because I have watched back pain end a career, and I have watched a cheap mesh chair and a flagship racing seat do the same job when both were set up right.
I do not care what the chair looks like. I care whether your lower back is still supported in the sixth hour, and whether the tilt can lock at an angle your spine can live with.
How I picked and how I tested
My test is the same four questions I run on every chair that comes through the team house:
- Is the lumbar support actually adjustable, meaning it moves up and down, and ideally in and out? A fixed bump is decoration.
- Can I lock the tilt at a healthy angle, or does it always spring back?
- Do the armrests adjust in at least three directions, so the elbows can rest at desk height?
- Would my back be fine after an eight-hour scrim day, and does the size actually fit the person sitting in it?
Question four is where most chairs die. A chair can pass the first three and still be wrong if the seat is too long for your legs or the back is too short for your torso. Height and weight matter here. A chair built around a six-foot adult swallows a five-foot-four player, and a chair sized for a teenager leaves a tall player's shoulders hanging above the backrest.
The two chairs below point in two different directions: one built for a first setup and a tighter budget, one built for larger bodies and longer ownership.
The two chairs I would start with
Both of these are chairs with real support hardware. Neither one is a molded bucket seat pretending to be office furniture, which is the failure mode you want to avoid.
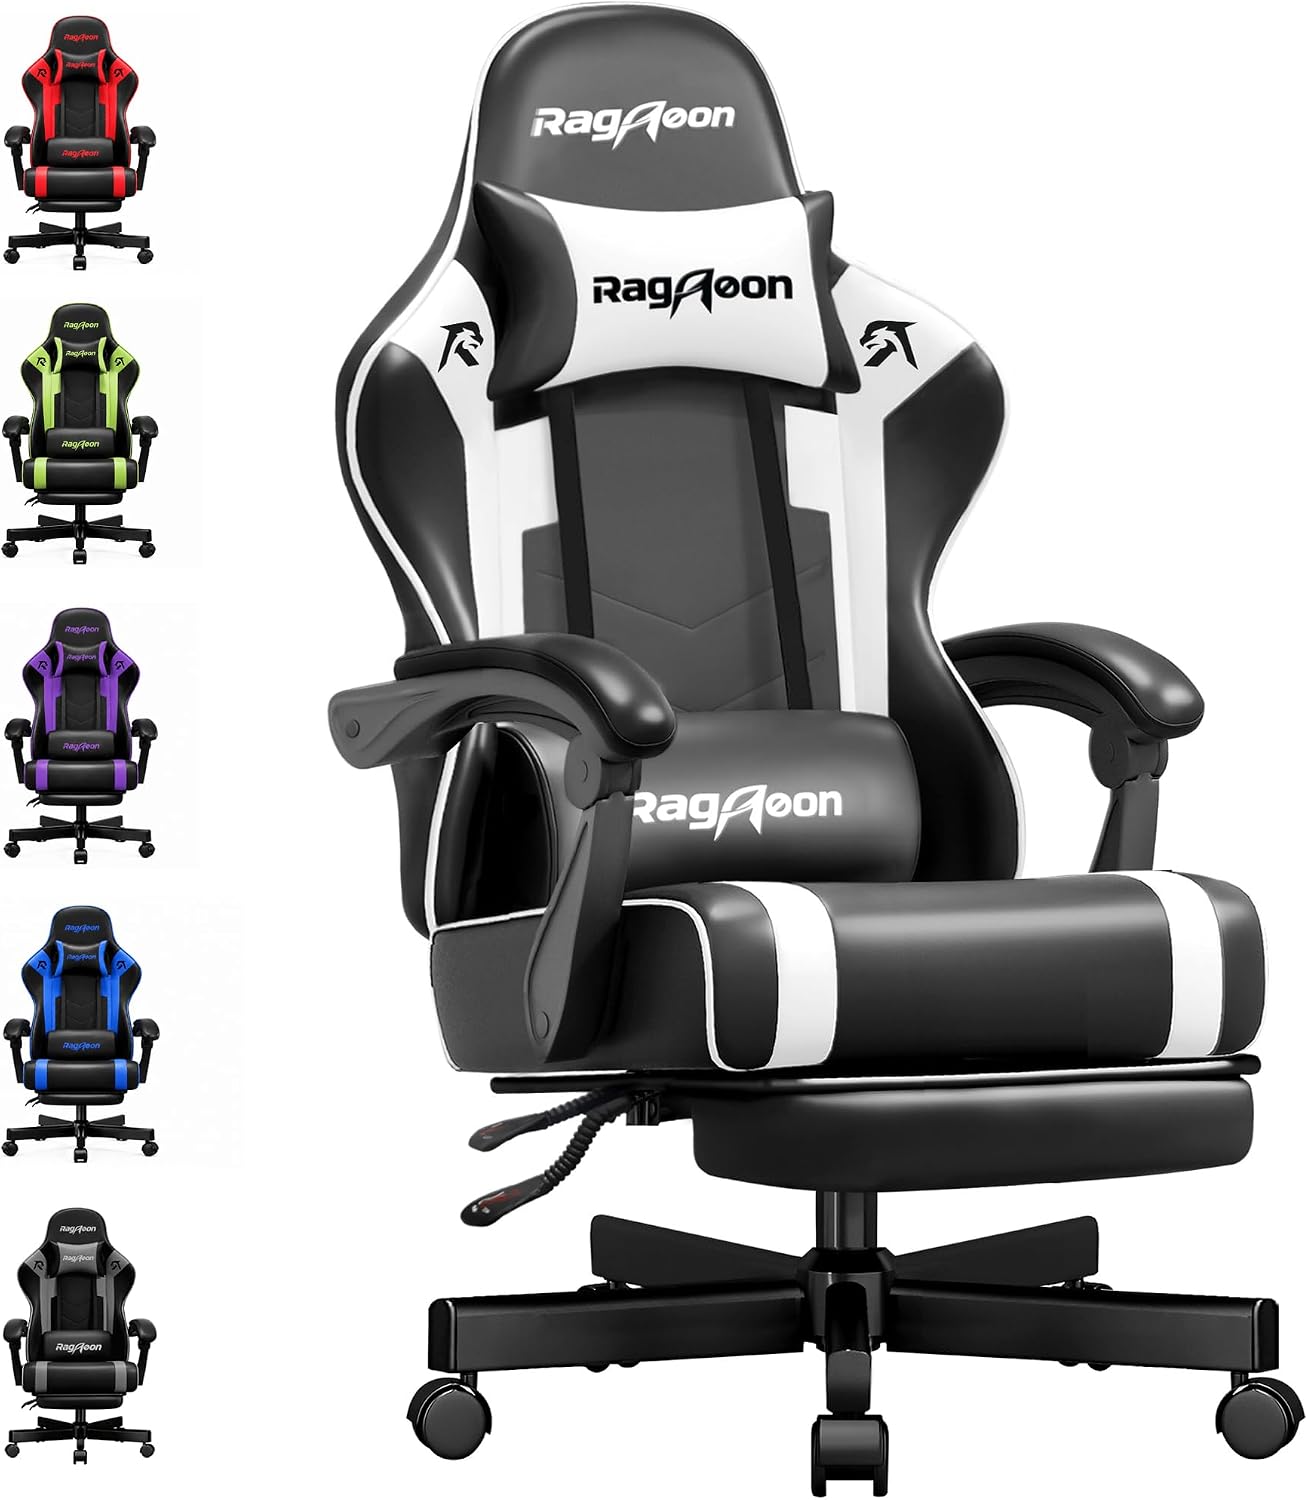
Budget pick: Gaming Chair for Adults Gamer Game Ergonomic PC Chair, 7-Point Support
 Visit on Amazon →
This is the one to look at if you are buying your first chair or replacing one that has started to wobble. The listing describes seven points of support, which in plain terms means the chair touches you in more places than a plain office seat: back, lumbar area, neck, head, and arms. That is the right idea, and it is the reason this style beats a bare padded stool for long sessions.
The thing to verify before you click is adjustability. Seven points of contact is not the same as seven points of adjustment. Confirm that the lumbar piece moves, not just that it exists, and check whether the armrests do more than go up and down. If the listing shows multi-direction armrests, that is a genuine upgrade on a chair at this end of the market.
Flaws but not dealbreakers: chairs in this range usually save money on the gas lift and the casters. Listen for a rattle when you roll across a hard floor, and expect to swap the wheels for rollerblade-style casters somewhere down the line.
Check current Amazon price before you commit, and read the height and weight guidance against your own numbers. This is for a first setup, a dorm room, or a second desk at a parent's house, and it will do the job if you spend twenty minutes on the setup steps below.
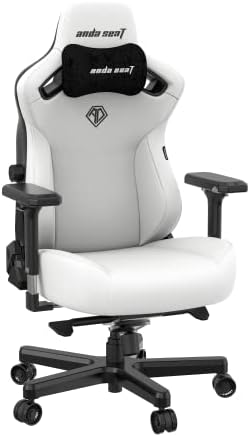
Our pick: Anda Seat Kaiser 3 Large Gaming Chair for Adults - Ergonomic Black PVC Leather Gaming Seat with Lumbar Support, Comfortable Office Chair with Neck Support - Heavy Duty Wide Computer Seat
 Visit on Amazon →
This is the chair I point at when someone wants one seat to last three years and is built large. Anda Seat names lumbar support and neck support, and the large, heavy duty, wide framing is the actual selling point: tall players and heavier players get a backrest that reaches their shoulders instead of stopping at the shoulder blades. The black PVC leather wipes clean in one pass, which matters if you eat at your desk.
The material tradeoff is real and I will not pretend otherwise. PVC leather runs warm in July, and if you sweat through hour three, mesh is the better call for you. For players who want the look of a gaming chair with support hardware underneath it, this is the direction to go. Confirm the seat depth against your own height before ordering, because a wide seat that is too deep pushes you forward into the exact slouch you are trying to avoid.
Flaws but not dealbreakers: leather holds heat, the large frame can overwhelm a small room, and a heavy chair is harder to drag across carpet when you want to stand up.
Check current Amazon price and compare the sizing notes against your height and weight. This is for someone who sits eight hours a day and wants the chair to still feel solid in year two.
The actual setup workflow
Now the part you came for. Grab the hex key, clear twenty minutes, and do these in order. Order matters, because changing seat depth after you set lumbar height means you start over.
Step one: Height. Sit down and put both feet flat on the floor. If your feet dangle, lower the chair. If your knees ride up above your hips, raise it. You want thighs roughly parallel to the floor and knees at about a right angle. If the chair bottoms out and your feet still do not land, you need a footrest, not a lower chair.
Step two: Seat depth. Most gaming chairs let you slide the seat pan forward and back. Push it forward until you can slide two or three fingers behind your knee, then stop. Too far forward and the seat edge digs into the back of your thighs. Too far back and your lower back loses contact with the backrest, which is the whole reason you bought the chair.
Step three: Lumbar height. The lumbar pad belongs in the small of your back, at belt level or slightly above. It should fill the natural inward curve of your lower spine, not push into it. This is the one feature worth paying for. If the lumbar is a fixed bump and it lands in the wrong spot for your body, no other adjustment will save the chair. Move it down if it feels like your stomach is being pushed out.
Step four: Recline and tilt lock. Do not sit bolt upright at 90 degrees for eight hours. Set the backrest to roughly 100 to 110 degrees, a slight lean back, and lock it. Unlocked tilt with light tension is why so many players end up curled forward by hour four. If your chair has a tension dial, tighten it until leaning back takes deliberate effort, then lock it for scrims and unlock it when you watch VODs.
One caveat: recline lock levers on cheaper chairs can feel stiff. Use slow, steady pressure instead of a yank. Yanking the lever while your full weight is leaning back is how chairs get broken.
Step five: Armrests. Set them so your elbows rest at desk height with your shoulders relaxed, not shrugged. Forearms roughly parallel to the floor. If the armrests only go up and down, you will fight them every session. Multi-direction armrests let you move them in, out, and at an angle, which is the difference between a chair that fits and a chair that fits you.
Step six: Headrest. Most people park the neck pillow behind the skull, which pushes the head forward and wrecks the neck over a long session. It belongs behind the curve of your neck, at the base of the skull. If it hurts after ten minutes, it is in the wrong place or it is too thick for your frame, in which case take it off entirely.
Step seven: The hour-six recheck. Your body settles and the foam compresses. At hour six, stand up for two minutes, sit back down, and run the whole list again. Most of the back pain I see in players comes from a setup that was fine in minute five and wrong by hour five.
Step eight: Floor and habits. Hard floors and cheap casters fight each other. A floor mat keeps the base from wandering and protects wood. Beyond gear, stand up once an hour, even for sixty seconds. No chassis on earth beats eight hours of zero movement.
Where the two chairs land
If you are under about 6 feet, on a tight budget, and this is your first real chair, the entry option with the seven points of support is the sensible start, as long as the lumbar and armrests actually adjust. Spend the setup time on it and it will carry you through a ranked grind without your lower back filing a complaint.
If you are tall or broad, or you have already replaced one cheap chair midway through a season, the Anda Seat Kaiser 3 Large is the one I would put my own scrim hours on. The heavy duty wide build is doing real work there, and the neck and lumbar support give you more places to dial in.
The honest answer for anyone who plays more than two hours a night: pick the chair whose lumbar adjusts, set it up properly, and put the savings into a floor mat and a footrest instead of racing stripes.
The math on this setup
I am not going to quote prices here, because they move and I would rather you see the live number yourself. Check current Amazon price on either chair and do the division: any chair you keep for two years is a few cents a day, and a chair you replace after eighteen months because the base went wobbly costs more than the one you paid a little more for up front.
The extras are cheap and they matter. A floor mat protects the finish and stops the chair from drifting. A footrest fixes a chair that will not go low enough. Replacement casters fix the rattle that shows up around month six on budget hardware. None of that is glamorous and all of it changes how the chair feels in hour eight.
When to send a chair back
Return it if the lumbar support does not adjust and does not land in the right place for your spine. Return it if the armrests only move up and down and you sit at a desk all day. Return it if the base wobbles out of the box, because a wobble at week one is a crack at month ten.
Do not return a chair because it feels stiff in the first hour. Foam and tilt tension both break in over a couple of weeks, and a seat that feels soft on day one is usually the one that sags by month four.
That is the whole job. Two chairs, eight steps, and one habit. Your back is the only piece of hardware in your setup you cannot replace, so set the chair up like it matters.