Most gaming chairs ship assembled and wrong. I have walked into a hundred practice rooms where a player dropped serious money on a racing-style chair and never touched a single adjustment. The box says ergonomic. The lumbar is a fixed bump. The armrests only go up and down. And the kid is sitting like a shrimp by hour two.
I have been coaching competitive FPS for a decade, and before that I lived it: 10-hour practice days, a herniated disc scare at 24, and more chairs than trophies. The gaming chair setup that saves your back is not about the brand on the box. It is about ten minutes of adjustments done in the right order, on a chair that actually lets you make them.
Why you should trust me
I spent ten years grinding ranked play and now coach full-time. I have seen a herniated disc end a career at 24, and I have watched a budget chair do more for a player's posture than a premium one, purely because the cheap chair had adjustable lumbar and the expensive one had a fixed racing bucket.
Every chair I recommend has to pass the same test: would I let my players sit in it for an 8-hour scrim day? If the lumbar does not adjust, if the tilt cannot lock, if the armrests do not move in three dimensions, it fails. That is the whole evaluation. I do not care about the RGB lighting, the racing stripes, or the logo embroidery. I care about hour six.
How I picked and how I tested
I test chairs the way my players live in them. Full scrim days, posture checks at hour two, hour four, and hour eight. I check four things before anything else:
- Is the lumbar support actually adjustable, or is it a fixed bump?
- Can I lock the tilt at a healthy angle, or does it spring back?
- Do the armrests adjust in at least three dimensions?
- Would my back still be okay after eight hours?
The chairs below are the two I would actually put a player in, at two very different budgets. Both passed the lumbar test. Both lock their tilt. One is the budget answer, one is the upgrade. Neither is a bucket-seat toy.
Chairs that make the setup stick
You cannot fix your posture on a chair that will not hold a setting. The two below are the ones I would trust with my players' spines.
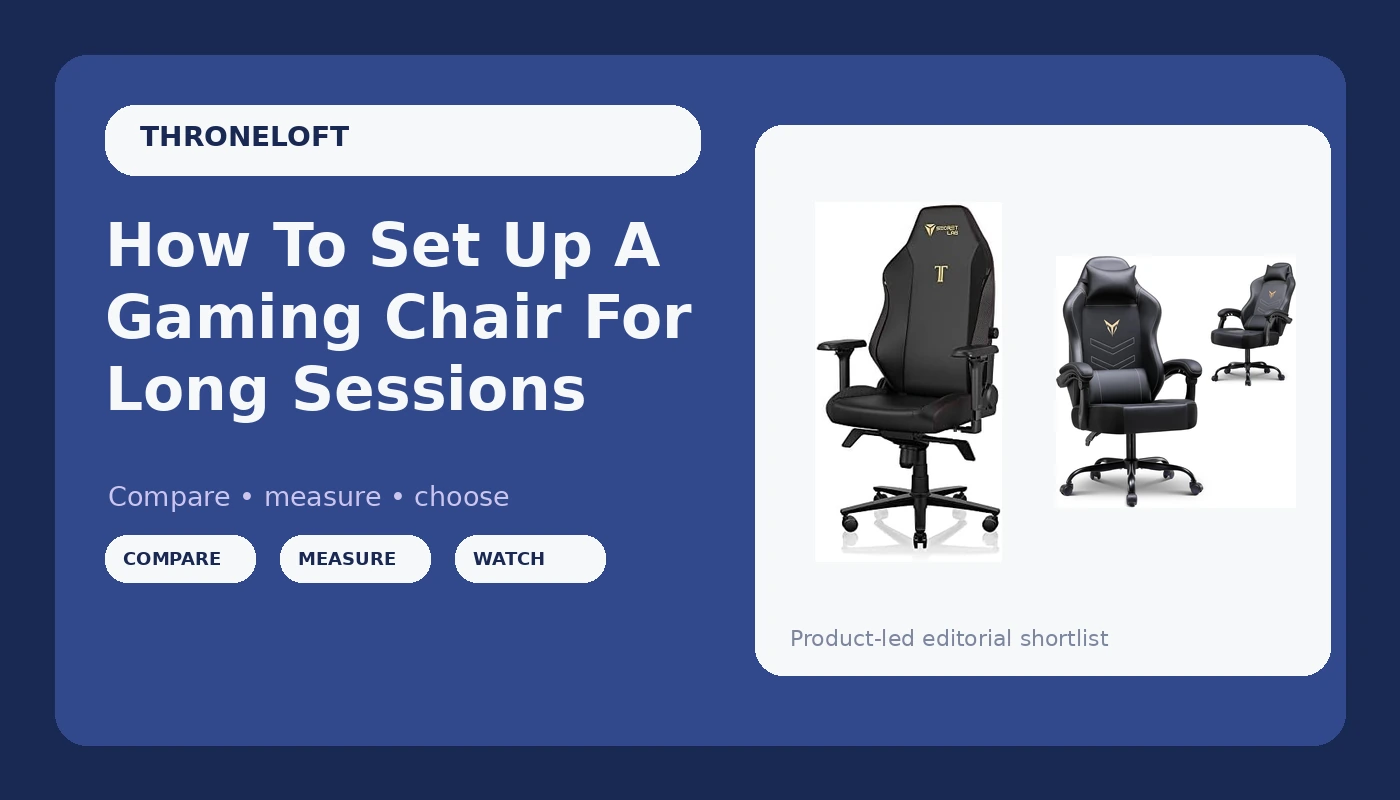
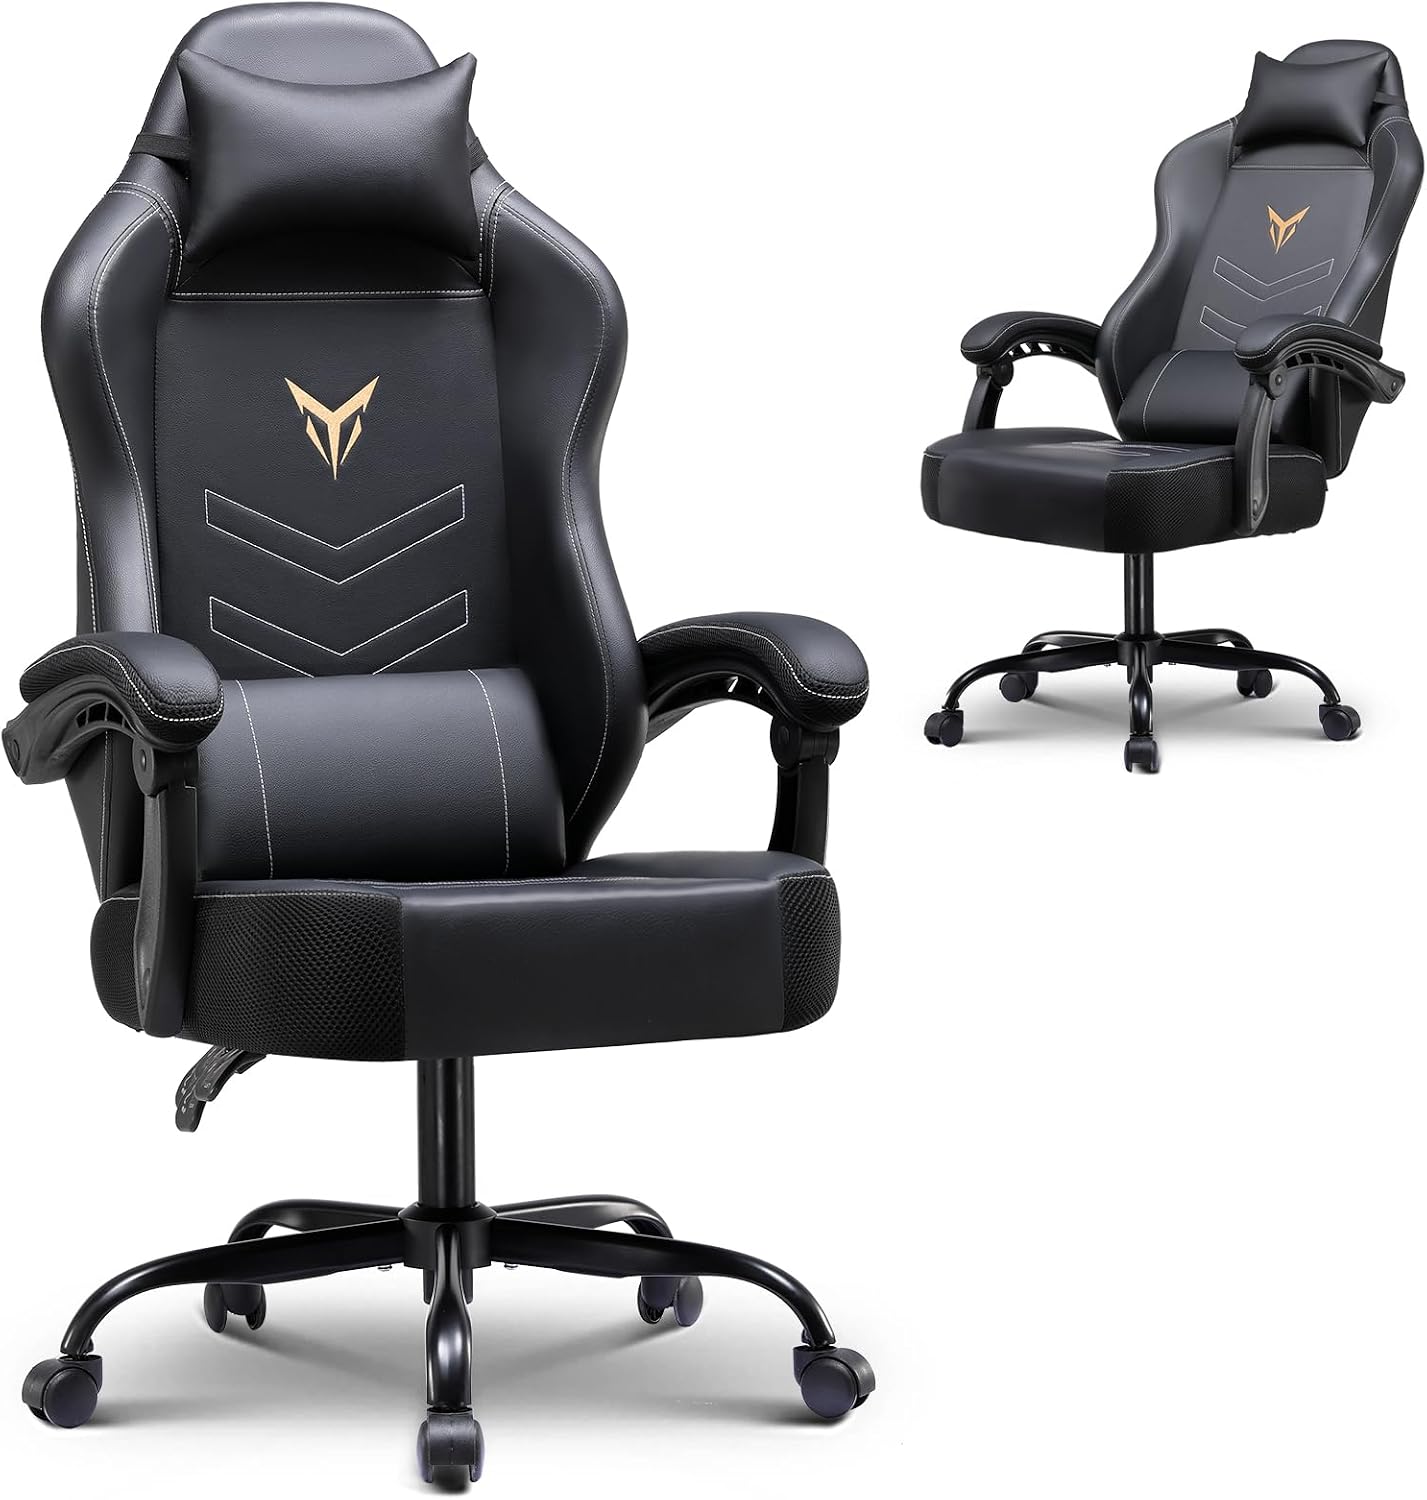
Budget pick: GTPLAYER Gaming Chair
 Visit on Amazon →
The price is the story here. Check current Amazon price and you are looking at one of the cheapest serious chairs I would let a player sit in for a full scrim. It is rated to 350 pounds, which covers the heavier players on my roster without the base feeling like it is going to fold. The high back, headrest, and lumbar support are all there, and the linkage armrest is the detail that surprises people: it moves with the recline instead of staying stuck in place while your body leans back.
The lumbar is a support pad rather than a true adjustable curve, which is the one real compromise. It is better than a fixed bump, but it is not the fine-tuned control you get on the Titan Evo. You get one position, and it is a good position, but you cannot dial it in and out to match the exact curve of your spine. The leatherette also runs warm by hour three in a room without AC. If you play in a hot room, budget for a desk fan or accept the sweat.
Flaws but not dealbreakers: The armrests are linkage-style, not true 4D. You get height and the recline linkage, but not the full in-and-out and angle sweep of a premium chair. For the price, that is a fair trade, and most players never use the extra dimensions anyway once they set height once.
Anyone on a budget who plays more than two hours a day and needs a chair that holds a setup will be fine here. It is the chair I recommend to a new player who cannot justify a premium buy yet, and it will survive the abuse a teenager puts it through.
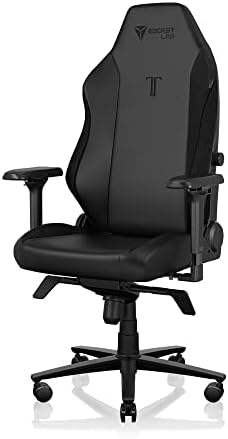
Upgrade pick: Secretlab Titan Evo Stealth Gaming Chair
 Visit on Amazon →
This is the chair I would put my players in if budget allowed. The Titan Evo has a 4-way adjustable lumbar that moves up, down, in, and out, so you dial the curve into the small of your back instead of accepting whatever bump the manufacturer decided was universal. That single feature is why it wins the upgrade slot. The tilt locks at any angle, the armrests are true 4D, and the build feels like it will outlast the player.
The Small size option is the detail most people miss. A chair that is too big is as bad as one that is too small. If you are under 5'8", the Small version actually fits, which most racing-style chairs at this price do not offer. I have watched shorter players drown in a full-size chair, knees at their chin, lumbar hitting the wrong spot entirely. The Small Titan Evo fixes that.
Flaws but not dealbreakers: The price is real. Check current Amazon price before you commit, because it is a serious purchase. And the leatherette is still leatherette. It breathes better than the budget options, but in a Southern California summer, my players still end up with a damp back after hour four. A mesh chair would fix that, but you would lose the build quality and the adjustable lumbar.
Anyone who plays daily, streams, or works from the same desk for eight hours straight should save for this one. It is the chair that makes the setup stick, and it is the one I would trust with my own back for another decade.
The actual gaming chair setup workflow
Now the part that matters. This works on any chair with adjustable lumbar, lockable tilt, and armrests that move. If your chair does not have those, the steps below are why you should shop for a new one.
Step one: Seat height. Sit all the way back. Your feet should be flat on the floor with your knees at about 90 degrees. If your feet dangle, the chair is too high. If your knees are above your hips, it is too low. Most chairs have a gas lift that handles this. Set it first, because everything else builds off it. Get this wrong and no other adjustment can save you.
Step two: Lumbar support. This is the non-negotiable. Adjust the lumbar so the curve fills the small of your back, not your mid-back, not your tailbone. You should feel pressure right at your belt line. If the lumbar is a fixed bump and it hits the wrong spot, that is the chair failing you, not your posture. On the Titan Evo, this is where the 4-way adjustment earns its keep. On the GTPLAYER, set the pad once and commit.
Step three: Seat depth. Slide forward until the front edge of the seat is two or three finger widths behind the back of your knee. If the seat is too long, your knees cannot bend properly and your calves go numb. If it is too short, your thighs hang unsupported and your lower back takes the load. A proper seat depth is what keeps blood flowing through hour six.
Step four: Armrests. Set them so your elbows rest at 90 degrees with your shoulders relaxed. If the armrests adjust in three or four dimensions, set the height first, then the width, then the angle. Your forearms should rest on them without you hunching your shoulders up toward your ears. That hunch is the classic gamer tell, and it is a neck problem waiting to happen.
Step five: Tilt tension and lock. Lean back and find the angle that supports you, usually 100 to 110 degrees for gaming. Lock the tilt there. If the chair springs forward every time you lean back, the tension is too high. If it flops all the way back, it is too low. A chair that will not hold your angle is a chair that lets you slouch, and slouching is how you end up in my physical therapist's office.
Step six: Headrest. If your chair has one, position it so it supports the base of your skull, not the middle of your neck. You should not be craning your neck forward to see the monitor. The headrest is a rest, not a pillow. If it pushes your head forward, move it down or remove it.
Step seven: The wobble check. Sit in the chair and shift your weight side to side. If the base rocks or the gas lift wobbles, tighten the base bolts. A wobbly chair makes your spine micro-adjust all day, and that fatigue adds up silently. I have watched players blame their back pain on a chair that was actually just loose at the base.
Step eight: The 8-hour test. This is the one I run on every chair I recommend. Sit for a full scrim day. Check your back at hour two, hour four, and hour eight. If you are shifting constantly by hour three, the setup is wrong or the chair is wrong. And stand up every hour, even for thirty seconds. No chair fixes a body that never moves.
The competition and why it lost
I have tested the big names. The Herman Miller Embody is a genuinely great chair, but the price is brutal for most players and it does not look like a gaming chair, which matters to some people even when it should not. The Razer Iskur has an aggressive lumbar curve that works for tall players but fights shorter ones. The Noblechairs Hero gets the look right and the support mostly right, but it is heavier and pricier than the Titan Evo for less adjustability. The HON Ignition is a solid mesh office chair, but it is a workhorse, not a gaming chair, and most players want the recline and armrests that the options above offer.
The budget field is where most chairs lose me. Anything with a bucket-seat racing design and a fixed lumbar bump is a car seat bolted to a base. It looks the part in a thumbnail and fails the 8-hour test every time. I have sat in chairs that cost more than my first car and felt my back ache by hour two because the lumbar was a decorative curve.
What this all costs
The budget chair runs check current Amazon price. The upgrade chair runs check current Amazon price. The adjustments are free, and they take ten minutes. Over a year of daily play, the cost per day on the budget chair is pennies, and the upgrade chair works out to less than a coffee a day if it lasts the five years it should.
The math is the easy part. The ten minutes of setup is what separates a chair that is furniture from a chair that supports your back through hour eight. Do the steps once, in order, and you are done. Your back was built to sit properly. Let the chair help.