Gaming chair gas cylinder replacement is the least glamorous repair in this hobby and the one that saves the most money. Your seat starts dropping an inch an hour, you blame the carpet, you blame your posture, and then one night mid-scrim you sink four inches in the middle of a fight and your aim goes with your seat height. That is a cylinder failure, not a chair failure, and no amount of lumbar cushioning will fix it.
I have been through this on my own chairs and on the practice room chairs my players use. I coach full time now, and the difference between a chair that holds its height and one that does not is the difference between an eight hour scrim day that ends with a tired back and one that ends with a tweaked one.
This guide covers both halves of the job. First, replacing the lift cylinder so the chair stops sinking. Second, setting that chair up so the new cylinder actually puts you in a position your spine can live with for six hours straight. The second half is the one everybody skips, and it is the half your back notices.
Why you should trust me
I spent ten years playing FPS at a competitive level, most of it in ten hour practice blocks, and most of it in chairs built to look fast rather than hold a spine. At 24 I had a herniated disc scare that put me flat on the floor for a week and permanently changed how I think about sitting. I coach now, and every player I work with gets the chair talk on day one, because I have watched back pain end a career and it is a stupid way to lose one.
My rules are short and I do not bend them. A chair has to hold its height under load. Lumbar support has to be adjustable, because a fixed bump is decoration. Armrests have to move in more than one direction, or they are just arm holders. The tilt has to lock at an angle you can actually sit at during hour six. If a chair fails any of those, it is furniture, not a gaming chair.
How I picked and how I tested
This is a how to article, not a buying guide, so the list here is short: the part that fixes a sinking chair, and the chair I would set that part up in.
The test I run on a chair is boring and it takes a full scrim day. I set the height so my elbows land at desk level, I lock the tilt just past upright, and I play. If I am re adjusting the chair by hour four, it failed. If the seat height creeps, the cylinder failed. I check the same things you should check: does the lift hold under full weight, does the seat pan support the thighs without cutting behind the knee, does the lumbar land in the curve of the lower back and stay there when I lean.
For a cylinder, the test happens before you order anything. Pull the old one out of the chair, measure the outer tube diameter, the overall length, and look at the top of the taper. Match those three things and you have a working part. Guess at them and you have a return label.
One safety note before we go further. A gas lift cylinder is pressurized. Do not drill into one, do not put heat on one, and do not try to take one apart to see how it works. You replace the whole unit or you leave it alone.
The two parts this job runs on
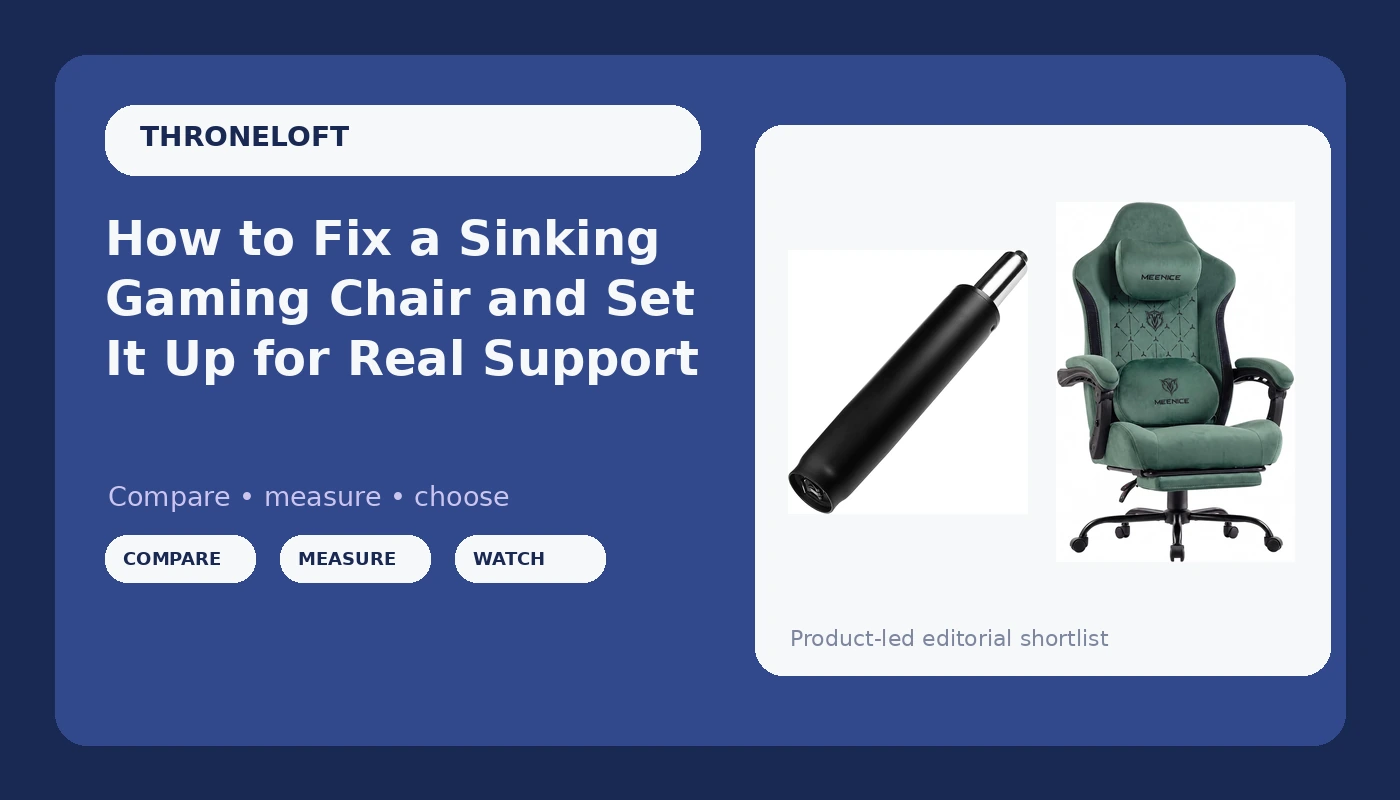
The replacement part: 5" Chair Hydraulic Cylinder Replacement for Office Chair Gas Lift Cylinder
 Visit on Amazon →
This is the piece that does the actual work. A gas lift is a sealed cylinder with a piston inside it, and the seal eventually stops holding. That is the whole story. The chair did not get worse, the seal did.
Before you order, flip your chair over and compare this against what is already in there. The critical dimensions are the outer tube diameter, which has to fit your base and your seat plate, and the overall length, which decides how much height range you get back. A cylinder that is too long will not go low enough for a shorter player. One that is too short leaves you sitting on a chair that feels permanently jacked up.
The install is a mechanical job, not a technical one. Penetrating oil on the old cylinder, let it sit, then work it out of the base. Some chairs need a removal tool and a mallet, some come apart with a pipe wrench and patience. Seat the new cylinder into the base with a block of wood between the hammer and the metal, then drop the seat back on the taper and press down with your weight to seat it. Test the height range before you put the chair back upright on a hard floor, because you do not want to discover the problem while you are sitting in it.
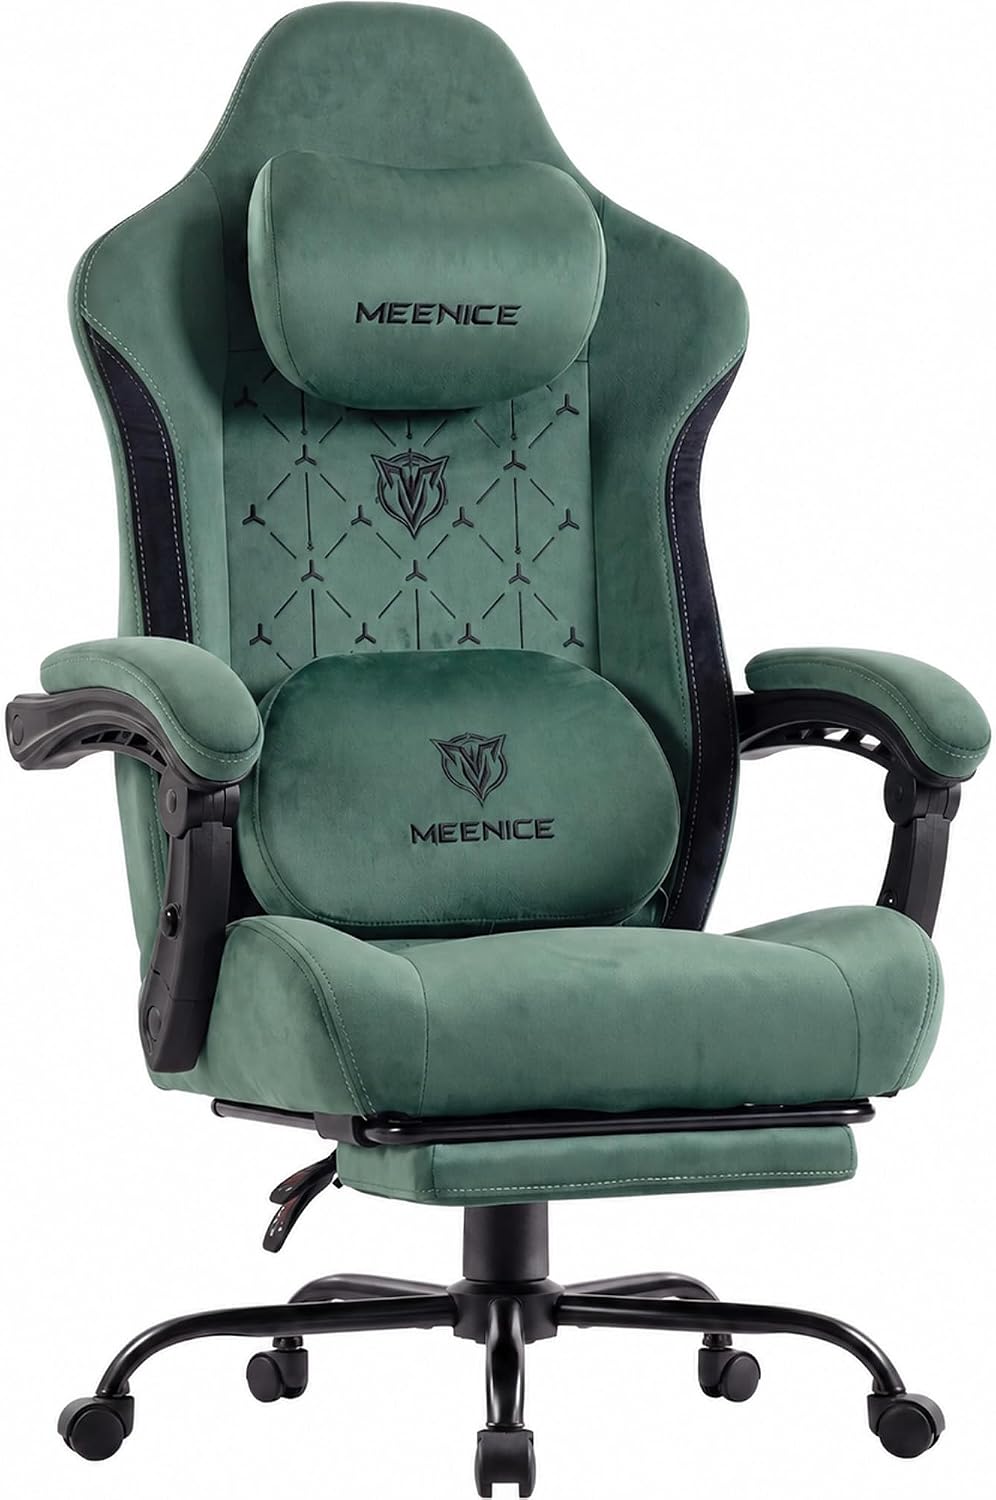
The chair to set it up in: Fabric Gaming Chair with Heated Massage Lumbar Support, Pocket Spring Seat, Reclining Computer Chair with Footrest, High Back Gamer Chair, 350 lbs
 Visit on Amazon →
This is the chair I would run the workflow below on, and the fabric is the first reason. Mesh beats leather for anyone who plays more than two hours, and fabric lands between them: it breathes better than the bonded leather you find on most racing style chairs, and it does not turn into a slip and slide in July the way some mesh covers do.
The heated massage lumbar support is the feature I would use carefully. Heat on a tired lower back feels good, and it is genuinely useful during a break between scrim blocks. It is not a substitute for a lumbar pad that sits in the right place, so set the mechanical support first and treat the heat as a recovery tool, not a fix. Twenty minutes on, then off.
The pocket spring seat is the part that matters for long sessions, because springs spread load instead of letting you bottom out onto a hard pan after an hour. The footrest pairs with the recline for break sessions, the way you would use a recliner between matches, not as your default sitting position. And the 350 pound rating tells you the frame and base are built for a heavier load class than the cheap chairs that start wobbling at six months. That rating also usually means a bigger base and a heavier duty cylinder underneath, which is exactly the part you are here to deal with.
The actual workflow
Do the repair first, then the setup. Setting up a chair that is still sinking is wasted effort, because every angle you dial in changes the moment the seat drops.
Step one: Confirm the cylinder is the problem. Sit down. If the seat sinks under your weight, creeps lower over a session, or springs back up the second you stand, the gas charge is gone and the lift needs replacing. If the seat only rocks side to side without dropping, tighten the seat plate bolts and check the base before you spend anything. Two different failures, two different fixes.
Step two: Measure the old cylinder before you order. Outer tube diameter, overall length, taper at the top. Write the numbers down. This is the step people skip, and it is the reason half the one star reviews on replacement cylinders exist.
Step three: Set up your workspace. Cardboard or a rug on a hard floor, because a chair flipped upside down on tile will scratch the tile and the chair. Gloves, penetrating oil, a mallet, a block of wood, and a pipe wrench or cylinder removal tool.
Step four: Pull the old cylinder. Flip the chair, oil the joint where the cylinder meets the base, wait, then work it out. If it fights you, more oil and more patience, not more force. The base is usually the part that gives first.
Step five: Seat the new cylinder. Tap it into the base using the block of wood as a buffer so you do not deform the tube. Check that it is straight, then set the seat back on the taper and press down to lock it.
Step six: Test before you trust it. Sit, run the height range from bottom to top, and leave the chair overnight at your normal height. If it has dropped by morning, the cylinder is not seated right or it is the wrong part.
Step seven: Set seat height. Elbows at desk height, feet flat on the floor, thighs roughly parallel to the ground. If your feet dangle, you need a footrest under the desk, not a lower chair.
Step eight: Set seat depth. You want two to three fingers of space between the back of your knee and the front edge of the seat. Too long and your knees cannot bend right. Too short and your thighs hang off the front with nothing under them.
Step nine: Dial in the lumbar. Adjust it so the curve lands in the natural arch of your lower back, not up under your ribs and not down at your tailbone. This is the single most important adjustment on the chair, and it takes thirty seconds.
Step ten: Set the armrests. Shoulders relaxed, elbows at roughly ninety degrees, forearms supported. If your armrests only go up and down, you will fight them forever. Get them where they support your shoulders and leave them.
Step eleven: Set tilt tension and lock. For long sessions, lock the backrest just past upright, around 100 to 110 degrees. That angle takes load off the discs without letting you slump into a recliner. Use the full recline and footrest during breaks, then come back to the locked position.
Step twelve: Re-check at hour four. Every long session, same check. Elbows, knees, lumbar, feet. If something drifted, fix it before the next block, not after the pain shows up.
The competition and why it lost
Chairs like the Secretlab Titan Evo, the Herman Miller x Logitech Embody, the HON Ignition 2.0, the Razer Iskur, and the Noblechairs Hero all come up when players ask me what to buy, and they belong in a buying guide, not in a repair article. If your chair is sinking, none of them help you tonight.
What I will say is this. If you are shopping, skip anything with a bucket seat racing design, because a car seat bolted to a base is a posture problem with a logo on it. If you are not shopping, and your chair already fits you, a cylinder is the cheapest and fastest way back to a chair that works. Fix what you have before you replace it.
What this all costs
There are three line items in this job. The cylinder, which is the smallest one. The tools, which most people already own. And the chair itself, if you are replacing rather than repairing. Check current Amazon price on both the cylinder and the chair before you decide which route you are taking, because the comparison changes the math fast.
Run the cost per day on it. Two years of daily use is roughly 700 sitting days. Divide whatever you spend by 700 and you have the real number. Then compare that to a week of physical therapy, or to the cost of losing a season to a back injury, and the math stops being close.
The repair takes an afternoon. The setup takes fifteen minutes. What you get is a chair that holds you at the right height for eight hours instead of one that slowly lowers you into a slump while you are busy losing a ranked match. Do the fix, then do the setup, then check it again at hour four. That is the whole job, and your back will notice the difference by the end of the week.